How I make Minecraft Skins
Blog Post 1
How I make Minecraft Skins

Minecraft skins have two layers the Body

And the overlay
After loading I erase the overlay to get it out of the way then use the Colour picker tool to copy the skin colour and remove most of the hair and head details

Then I use photoshop to copy the colours of official art of the character I’m trying to make. Generally I use the Fate Grand Order sprites. It is best to start with all the colours needed for the head, eye colour, hair colour plus anything else that might be on the head such as earrings. How I construct the hair is by using the overlay to add a bit to the front


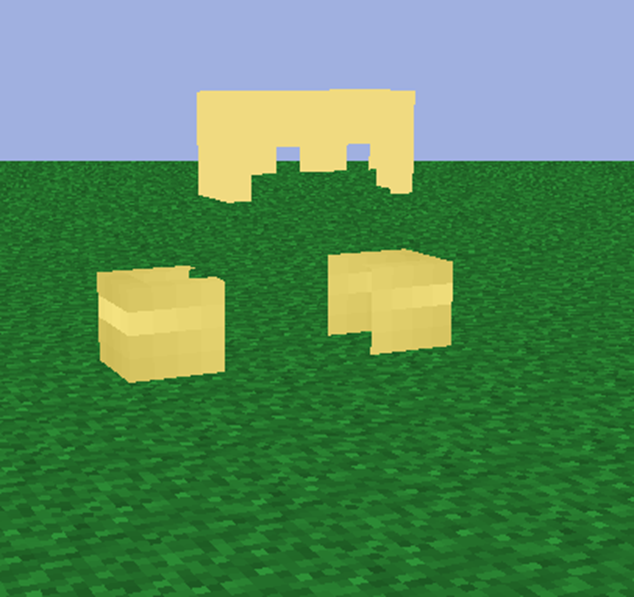
For Armor and fur I like to shade it to distinguish it from
the rest of the skin I do it with the hexcode and taking away 3 from all the
values hexcodes. Hex codes use both letters and numbers. The highest is F and
the lowest is 0 it goes from f e d c b a 9 8 7 6 5 4 3 2 1 0, and is spilt into
3 values RED GREEN AND BLUE, this is hexcode #F4E27F. I will now show how I
take away 3 from each, first up is red the F4 so take away 3 and it becomes F1
but then the green E2 take away 3 from that and it becomes DF then the blue
take away 3 is 7C so now the Hexcode is #F1DF7C after the body is done then the
arms or legs depend on what I feel like and once all are done then skin is
done. That is how I make skins.
Comments
Post a Comment